|
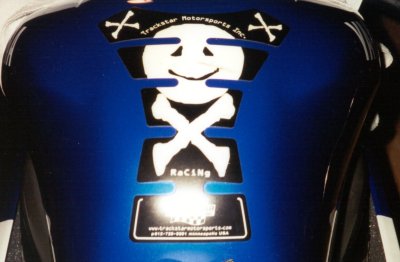
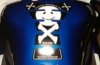
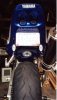
The tank pad is more of a protector. Very heavy 3M vinyl, has a slight padding to it due to thickness. Great coverage and looks fantastic. It's from Trackstar Motorsports located in Minneapolis, MN. |
|
 |
|
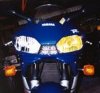
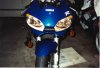
This was the first real change I made to the machine. All that needs to be done is remove the cover plastic piece to reveal the air ducts and front light assemblies. Then just replace the bulb. |
|
 |
|
Too bad the customer service from Texas Faring was so poor. Their product's quality isn't the greatest either, it's also fiberglass. It's almost like they copied the Eurobike enclosure, a bad copy. The instructions were horrible for installing it. Had to figure out myself a great deal of the install. The paint is a good color match but pathetically cracks easy, especially around the screws! I had to find flat rubber washers to use on it so rest of the screw holes wouldn't crack the paint. |
|
 |
 |
 |
 |
 |
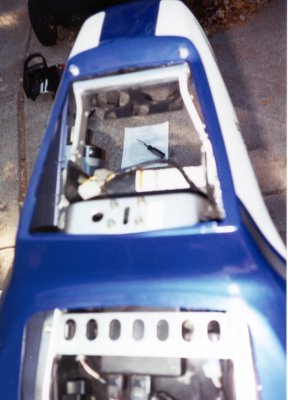
| Before |
Tray has
been cut |
Tray back on |
Bottom view
of tray |
Finished |
|
|
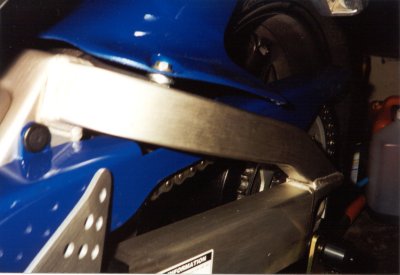
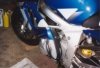
This piece was also from Texas Fairing and is fiberglass. At first glance, it was a good color match, except for coming out of the box scratched/ chipped. Again, paint not very plyable and cracked/ chipped slightly around the screw holes. Upon install, found hugger to be very warped, as if it didn't cure on the mold long enough. I just recently sanded down their poor quality POS and painted in myself using PPG paint. Looks nice, but too bad it's still warped. You can see the washer I had to use in the pic below so it wouldn't rub the tire, notice the gap! |
|
 |
|
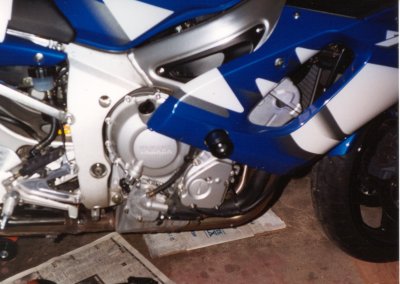
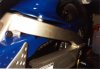
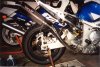
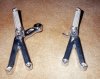
The frame sliders are from Intuitive Race Products (IRP). They have white and black colored frame sliders, I opted for the blank (ebony) ones. There are also two styles to choose from, normal and "Street". I chose the normal ones that mount to the engine mounts in the frame and require some plastic drilling. The hardest part installing them was making sure the marks for drilling were right on. It was too cold in the garage to use "Play-Doe", so I used the "Sharpie" method instead. The only issue with them was that the OEM bolts and the ones you use with the sliders have different size bolt heads, so you'll need to swap sockets, no biggie. The install instructions that came with them weren't the greatest, but as long as you follow the many frame slider install how-to's (like the one on this site), you'll be ok. Make sure to torque the bolts back to factory specs. These look great! |
|
 |
 |
|
Right side |
Left side |
|
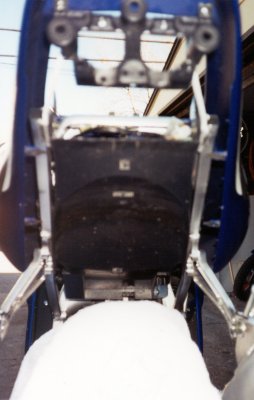
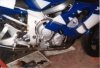
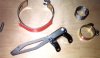
The clutch protector is from IRP. This also comes in both white and black (I chose the black) and is available for the R1 and R6. This was pretty easy to install, just remove the swingarm pivot point bolt, replace with the titanium one provided, put on the protector, then install that bolt. Took a few minutes at most. Looks great and plenty of room and clearance for your boot. |
|
 |
|
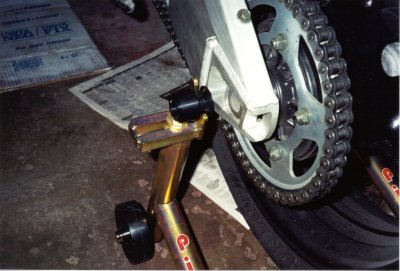
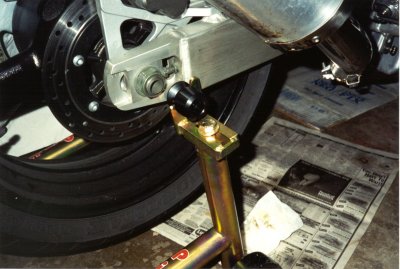
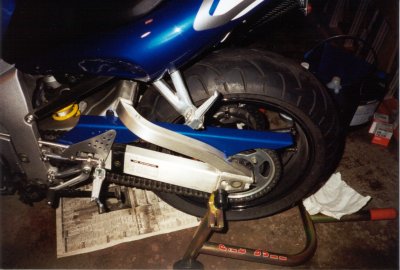
The swingarm sliders are another great product from IRP. These also come in white or black. They attach to the rear bobbin mounts. What great about these is that you can use a spooled style rear stand with them! |
|
 |
 |
|
Left side |
Right side |
|
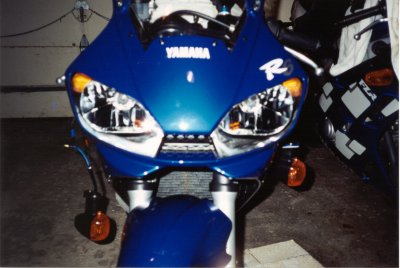
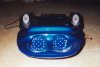
This project took such a long time. I had to get parts from Europe (to find out I didn't need them), parts from the dealers, and so on. Plus, it was so cold out when I was working on this, I was unable to do all that much at one time. The setup is configured so that when the turn signal lights up, that corresponding side turns off, so it gives an alternate blink and well as acting as a running light. If you want to see the directions, click here. |
|
 |
 |
 |
| Headlights off |
Headlights on |
Blink |
|
|
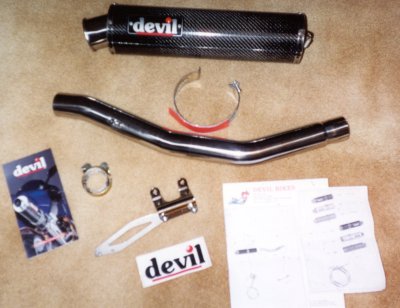
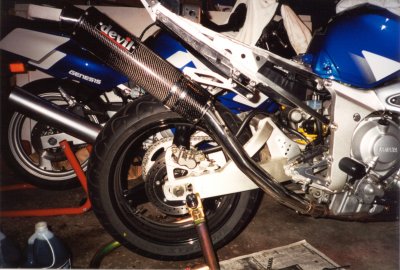
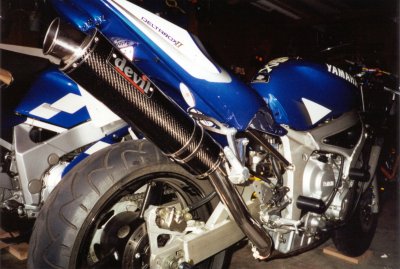
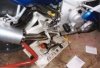
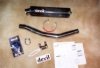
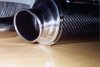
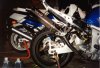
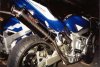
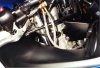
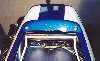
This Devil pipe is GREAT! The fit and finish are very good. The sound from this pipe is the best I've heard yet. It was quite easy to install. I just loosened the OEM connector fitting and removed the old pipe. Then installed the Devil can on it's connector pipe with the spring and attached that to the header pipe with the new gasket. Bolted everything back on loosely, made adjustments, and tightened the hardware. |
|
 |
 |
 |
 |
| Kit |
Parts |
Can size |
Pipe end |
 |
 |
 |
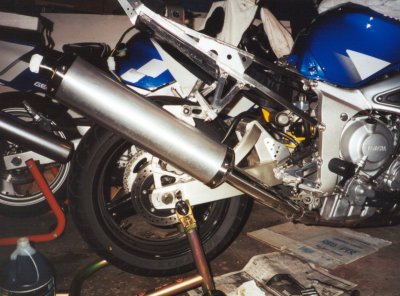
| OEM |
Without pegs |
With pegs |
|
|
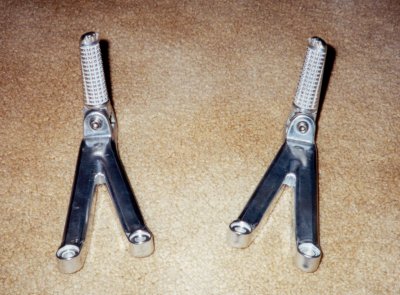
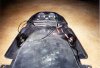
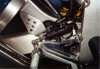
When I installed the new pipe, I kept the passenger pegs. The problem was that the old bracket had that huge factory exhaust bracket So I removed both pegs, took out the hacksaw and Dremmel, and took off the bracket on the right side and the hook on the left. Sanded them down and used some polish. |
|
 |
 |
| Before |
After |
|
|
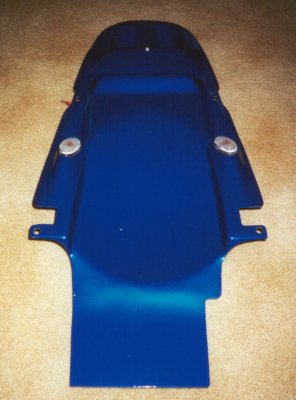
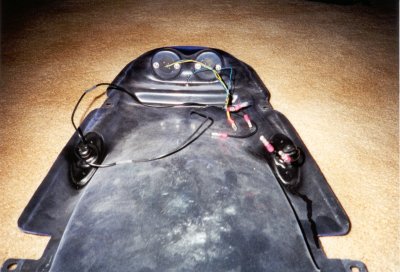
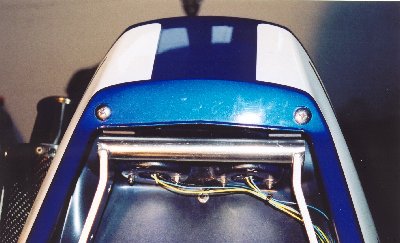
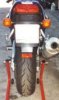
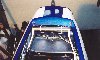
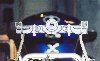
With GAMD, you can't go wrong. This undertail is by far the best one on the market for the R1 and R6. The instructions on the web site are excellent, thus making the install a piece of cake. Since I already had done most of the work when I installed the POS TF undertail, not much had to be done. The unit is made from real plastic. The finish of the unit is a perfect color match and has great style. The Libertek LED lights come pre-installed with all wiring ready to just plug-in. I was floored by how bright these lights actually are! The turn signals came with clear lenses and yellow bulbs. I also added a tuning fork logo to the bottom. |
|
 |
 |
 |
| Undertray, top |
Undertray, back |
Undertay, wiring |
 |
 |
 |
 |
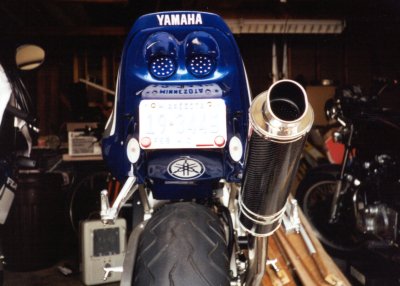
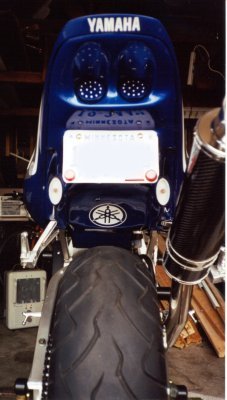
| Rear |
Rear |
Rear side |
|
|
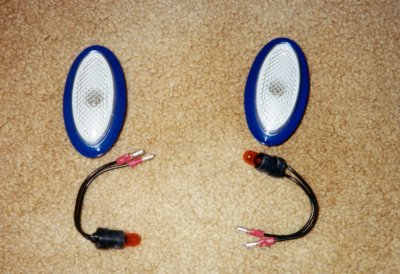
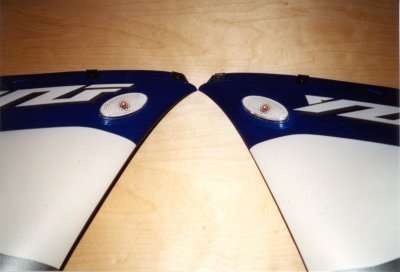
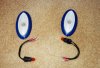
If you're looking for a top quality flush mount, these are it. The ones I ordered are the same lenses that are used on the undertail (clear with yellow bulbs). These come with a plastic "gasket" that can be ordered either painted or carbon fiber to completely cover the turn signal hole on the side, and the marker fits in the middle of that. It is held together and attaches using a high quality 3M adhesive tape, the same tape that the automotive industry uses. GAMD is a great place. |
|
 |
 |
| Parts |
Installed |
|
|
This didn't turn out too bad considering it was my first real experience with a large paint gun. I used PPG paint DBC4798 for the blue color and clear coated it using PPG clear coat. Pretty nice looking squidly mod. |
|
 |
|
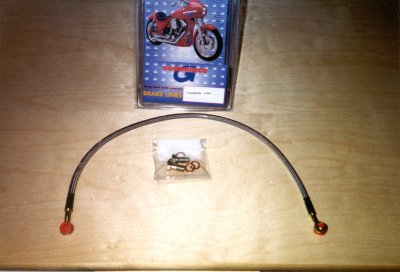
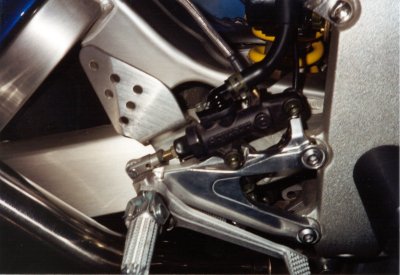
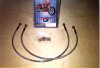
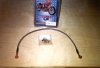
The Goodridge clear coated stainless steel lines were a no brainer for me. Quite simple modification. At times, the lines were a bit difficult due to the limited rotation adjustment of the stainless steel braids. The only problem was trying to keep the brake fluid from getting everywhere. Filled the brake system with Valvoline Synthetic brake fluid (500 degree + boiling point) and bled all around. Now they are solid as a rock, no noticeable fade under extreme braking conditions. |
|
 |
 |
 |
 |
| Fronts |
Fronts installed |
Rear |
Rear installed |
|
|
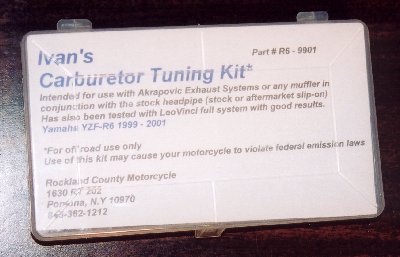
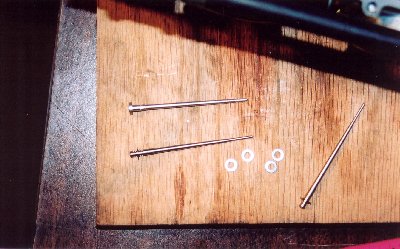
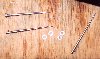
THE best jet kit by far! Ivan's Needles, by Ivan at Rockland County Motorcycle in Upstate New York. Not just a pansy main jet swap and fuel mixture screw adjust. We're talking main, main air, and pilot air jet change, new needles, and so on. Almost a complete carb rebuild. The bike pulls hard all the way to redline now. Huge improvement over the restrictive stock carb setup. Pics coming soon! |
|
 |
 |
 |
| Kit box |
Needles comparison |
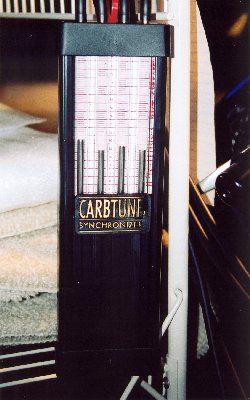
Sync tool |
|
|
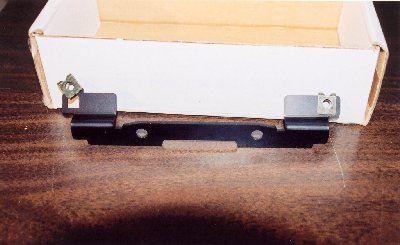
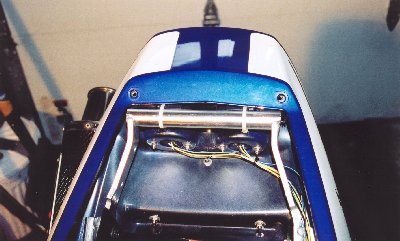
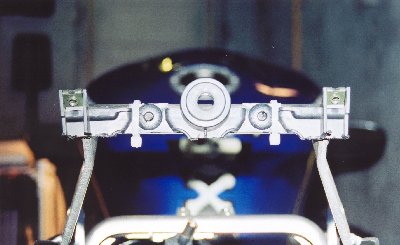
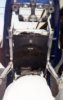
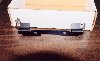
Libertek makes a great product for people that have replaced the ugly stock undertail with aftermarket bits, requiring a modification of the rear fairing bracket. Instead of using the cut up flimsy plastic one that bends, moves, or warps, they sell a VERY nice aluminum brace to replace it, along with hardware to mount it. Instructions are on their web site. |
|
 |
 |
 |
| Before |
Old bracket on |
|
|
| Braket |
 |
 |
|
After |
New bracket on |
|
|
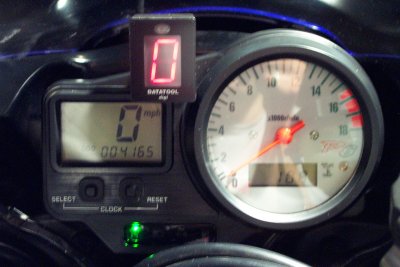
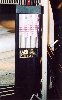
A very nice piece of equipment. Very easy to install. An excellent solution for the "7th gear search" when freeway driving. The only complaint some people may have is that it will only read correctly when the clucth is engaged. If you ask me, that's not a problem. Besides, the gadget factor alone on this is well worth it, thing will even auto-dim! The latest is by Acumen called the DG8, which you can get at White Buffalo Racing. |
|
 |
|
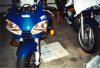
The fit and finish of the screen is great! Very happy to have choosen the regular smoke color over the dark smoke, the view through the screen, even at night, is still useable. Wind protection is much improved over the stock screen, plus the ZG Double Bubble looks great! |
|
  |
|
The Seat Sak from Rocket Locker (Luggage Locker) is something that I have been looking for, and looking, and looking, and looking...... The quality of this bag is seconf to none! Most of their bags (if not all) are hand made here in the ol USA! The storage capacity is great! The number of pockets and compartments this bag has are amazing. Simply attach it to your rear seat using the bottom of the bag "pouch" and the attached velcro straps, no mods, no drilling, no bungee straps to damage paint, nothing! It holds, fully loaded with books, a laptop, and my lunch at, well, lets just say well above the speed limit. I added the Lexel option to mine for water resistance/ proofing. Pics Comming Soon! |
|
|
|