Changing that Oil
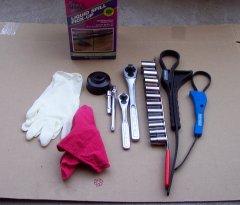
| Tools Needed: | 1. Socket wrench |
| 2. Socket to fit drain plug | |
| 3. Strap wrench or oil filter socket | |
| 4. Oil pan | |
| 5. (Tools required to remove body pieces) | |
Other Items: |
1. Motorcycle engine oil |
| 2. Oil filter | |
| 3. Drain plug washer (possibly, not every time) | |
| 4. Shop rags or paper towels | |
| 5. Kitty litter or dry spill (you WILL spill and drip) | |
| 5. Shop gloves help, rubber gloves work great | |
Estimates: |
Time: 20 minutes - 2 hours Cost: ~$5 USD for filter ~$3 - $7 USD per quart of oil |
Have all your tools ready.
If you need to remove a body panel or other parts, do that now and put them aside so they won't get damaged.
Start motorcycle and let warm up to operating temperature.
Once at operating temperature, turn off.
Unscrew oil filler cap, and rest it there.
Remove oil dip stick if equipped.
Wipe the threads and sealing surface.
Make sure there isn't any filter gasket left there either.
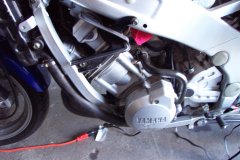
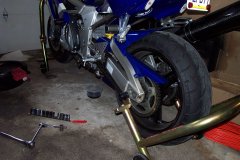
Some oil filters are located in the front behind the headers and some are located on the side.
Oil usually comes out when you remove the filter. If you can't get your oil pan under there, buy some low aluminium cake pans from the market to use.
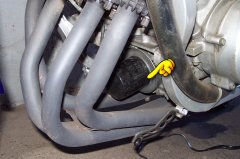
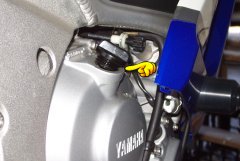
Yamaha R6 filter location:
Carefull, that oil is HOT!
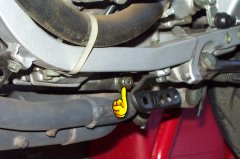
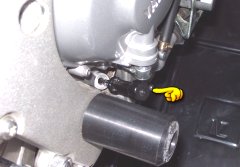
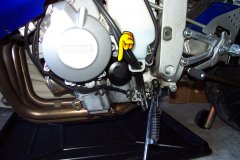
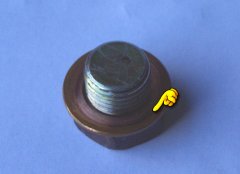
Yamaha R6 plug location:
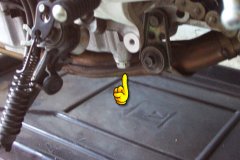
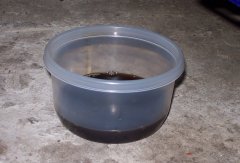
Since many of us are changing the oil using a center or rear stand, not all the oil from the pan will drain. I would recomend that you either lift the front, or drop the rear back down to get all the old oil out of the pan.
All the extra oil drained:
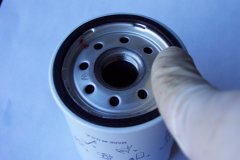
Oil the filter gasket and threads (open a oil bottle and dip your CLEAN finger in, then wipe on filter).
It's also a good idea to pour some oil into the filter before putting it on.
Check washer on drain plug, replace if necessary.
DO NOT over tighten.
Best to use factory torque specifications.
*CAUTION*
Factory torque specifications are often for drain plug installation with a NEW plug washer. Tightening to spec using the old washer can have adverse effects (stripped threads, cracked oil pan, etc.)
Re-install the oil dip stick if equipped.
Pour you oil in the filler hole.
You generally need 2.3 to 3 quarts, but check your shop manual or call the dealer!
Re-install the oil filler plug.
Start the motorcycle.
Warm again to operating temperature.
Check for leaks.
Turn off engine.
This is done by either a sight glass or a dip stick.
Tips
Forgot which way is tight, which is loose.... "Lefty Loosey, Righty Tiighty"
Use a large piece of cardboard under where you are working.
Some people replace the filter every time, some every other time.