Avoiding Cutting Factory Connectors
DON'T Cut That Plug!!
| Tools Needed: | 1. Wire Crimper |
| 2. Soldering Iron (better method) | |
| Other Items: | 1. Wire (18-22 gauge) |
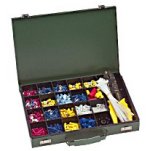
| 2. Miscellaneous Crimp Connectors |
|
| 3. Solder (better method) | |
| 4. Electrical Tape | |
| 5. Small Black Zip Ties | |
 |
|
Estimates: |
Time: 30 minutes to 1 hour Cost: ~$5 - $15 USD for wire and connectors |
(I'll be using an example of swapping out the OEM blinker relay for a aftermarket or heavy duty one on an R6.) |
|
Determine the type ends that you will need on your connector.
Do this by first matching a connector to interface with your OEM harness. Then match a connector with your new piece of equipment.
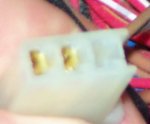
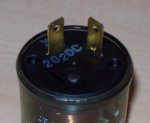
Cut the new wire pieces to the appropriate length you'll need
First, strip a bit of sheathing off the end. Then either crimp the connectors on tightly, or by solder them on. Soldering is the better method; it creates a better connection less resistant to malfunction (see Step 3a).
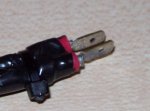
Sometimes you made need to trim the sides down a bit to fit properly in the OEM connection, as seen in the lower picture to the right.
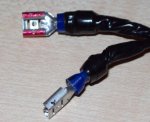
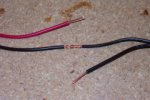
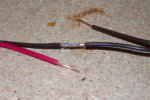
First, strip a bit of sheathing off the end. Then mesh the two wire together and twist slightly. Next solder the connection.
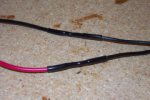
It's also adviseable to use some shrink tubing and a heat gun. Makes a better seal than using electrical tape. Just DO NOT forget the slide some on before you attach the cables, or you'll be doing it over again just to put on the shrink tubing.
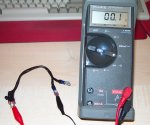
If you have a volt/ohm meter, use it. Check the resistance of each wire to make sure it's good.
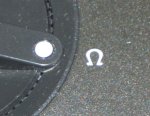
Top picture is what you want to measure, resistance or ohms. 0.0 ohms is ideal, but never happens, 0.1 is pretty good.
Make it nice and "purdy."

